Made by Hand · Breakfast
2-Ingredient Instant Pot Yogurt
Make thick, creamy homemade yogurt with just milk and yogurt starter. No special equipment needed.

By Stephanie
Tested in my home kitchen · Updated Feb 2026
Prep
10 min
Cook
600 min
Makes
8
Difficulty
Easy
A note from my kitchen
Why this recipe stays in rotation
I put off making yogurt for an embarrassingly long time. It was one of those things that lived on the aspirational list — right next to sourdough starter and homemade cheese — but felt like it was for a different kind of person. Someone with more time. Someone who really had her act together.
Then one day I finally just did it. And I want you to know: I was annoyed with myself for waiting.
Why it works
What makes this recipe worth keeping
Literally 2 ingredients
milk and a yogurt starter. That's the whole recipe
Hands-off process
you heat the milk, cool it, add the starter, and walk away. The Instant Pot does the rest overnight
Thick, creamy, and probiotic-rich
no additives, thickeners, or stabilizers like commercial yogurt
A fraction of the cost
a half gallon of whole milk makes more yogurt than a $7 store container, at a fraction of the price
The recipe
2-Ingredient Instant Pot Yogurt
Make thick, creamy homemade yogurt with just milk and yogurt starter. No special equipment needed.
Ingredients
- ½ gallon whole milk
- 2-3 tablespoons plain yogurt with live active cultures
Method
- 1
Pour 1/2 gallon whole milk into the Instant Pot inner pot. Press Yogurt, then Adjust until the display reads "boil." Let it run until complete (about 30–40 minutes).
- 2
Check temperature: milk should be at least 180°F. If it is lower, use sauté on low and stir until it reaches 180°F, then turn off heat.
- 3
Cool milk to 105–115°F (target 110°F). Speed this up by setting the inner pot in cold water and stirring gently.
- 4
In a small bowl, whisk 2–3 tablespoons plain yogurt with live cultures with 1/2 cup warm milk until smooth.
- 5
Whisk that starter mixture back into the pot of warm milk until evenly combined.
- 6
Return inner pot to the Instant Pot. Press Yogurt and set 8–12 hours (8 for mild, 10–12 for tangier).
- 7
Keep lid closed and do not disturb during incubation.
- 8
When done, check set: yogurt should look softly set and jiggly, with some whey possible on top.
- 9
For regular yogurt: whisk smooth and refrigerate at least 4 hours before serving.
- 10
For Greek-style yogurt: strain through a lined fine-mesh strainer in the fridge 2–6 hours, then refrigerate. Save 2–3 tablespoons as starter for your next batch.
Stephanie’s notes
Troubleshooting quick hits: runny yogurt usually means weak starter, starter added above 115°F, or too short incubation. Keep yogurt in sealed containers 7–10 days. Use whole milk for thickest texture.
Notes from testing
The details that make the difference
Use whole milk for the creamiest result. 2% works but produces thinner yogurt. Skim milk makes a noticeably runny yogurt
if you must use it, add an extra tablespoon of yogurt starter per quart of milk to help it set.
Don't skip the thermometer.
Temperature is the one thing that can genuinely wreck this recipe. If the milk is above 115°F when you add the starter, you'll kill the bacteria and wake up to warm milk instead of yogurt. If it's below 105°F, the bacteria won't multiply well. Use a $10 instant-read thermometer and hit 110°F. That's all you need.
Cool the milk fast with a cold water bath.
Instead of waiting 1–2 hours on the counter, set the inner pot in a sink full of cold water. Stir gently and check the temperature every minute or two. It'll hit 110°F in about 5 minutes. This is a game-changer for weeknight batches.
Temper your starter before adding it.
Don't drop the cold yogurt directly into the hot milk. Scoop out ½ cup of warm milk, whisk in your yogurt starter, then pour the whole thing back into the pot. This distributes the bacteria evenly and gives you consistent results.
Save some for your next batch. Freeze 2–3 tablespoons of finished yogurt in an ice cube tray. Thaw one cube when you're ready to make more. You can keep this cycle going indefinitely
free yogurt starter, basically forever.
Use it well
Make it yours, store it well
Variations
Greek-style yogurt: After chilling, strain the yogurt through cheesecloth or a clean kitchen towel set over a fine-mesh strainer. Refrigerate for 2–6 hours. The whey drains off and you're left with thick, scoopable Greek yogurt. (Save the whey — add it to smoothies or use it in bread dough.)
Longer ferment for tangier yogurt: Incubate for 12 hours instead of 8–10. More time = more bacterial activity = more lactic acid = more tang. Great for people who love that sour, almost-Greek-yogurt flavor without the straining step.
Flavored yogurt (without the junk): After chilling, swirl in 1–2 tablespoons of honey or maple syrup, a splash of vanilla extract, and/or a tablespoon of jam per serving bowl. Sweeten to taste at the table so each person can customize — works especially well with kids who want theirs sweeter.
Storage and reheating
Homemade yogurt keeps for 10–14 days in the refrigerator in an airtight jar or container. It gets tangier the longer it sits, which some people love. If you see a little clear liquid on top, that's just whey — stir it back in or pour it off for thicker yogurt. To extend your culture, freeze 2–3 tablespoons in an ice cube tray; frozen starter keeps for up to 3 months and thaws overnight in the fridge.
Serving ideas
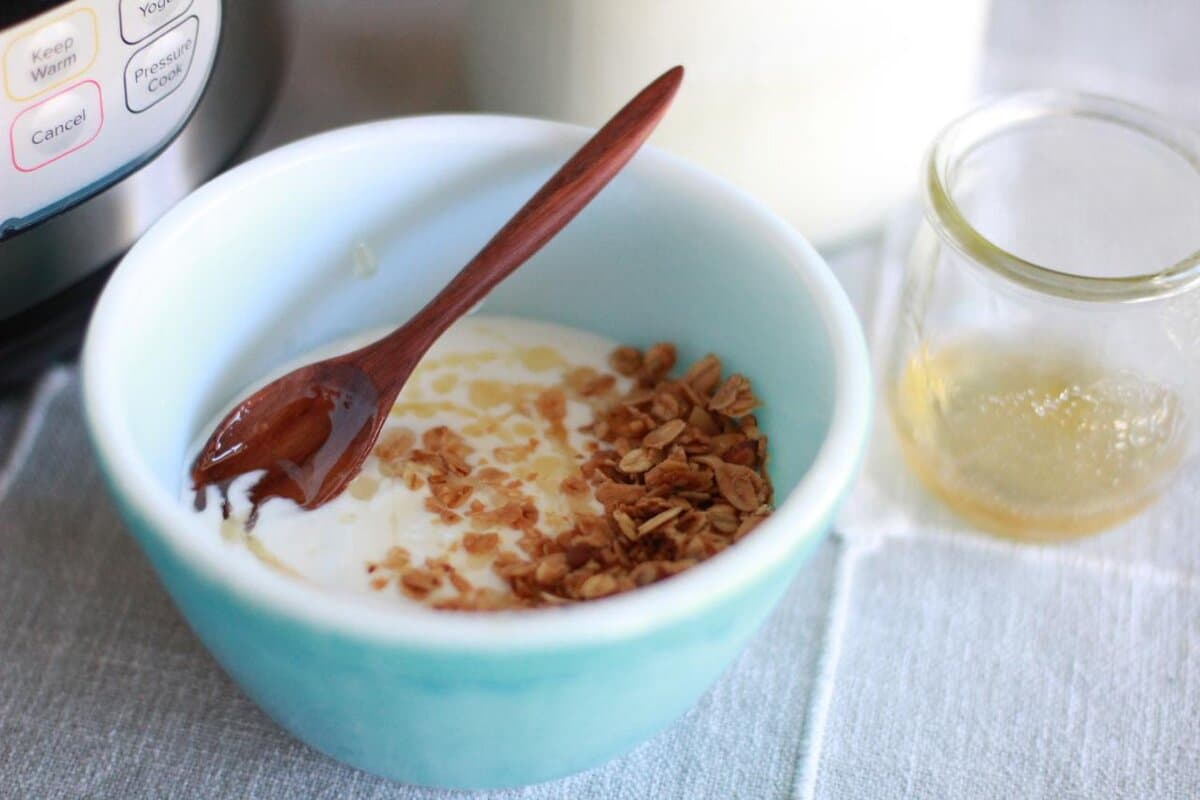
Use it anywhere you'd use sour cream — especially on tacos, soups, and chili (this is a revelation if you haven't tried it). Swirl in honey and top with granola for a quick breakfast. Blend into smoothies for a protein boost without protein powder. Stir into salad dressings or use as the base for a quick cucumber-dill sauce. For a simple dessert, layer in a glass with fresh berries and a drizzle of honey. It pairs especially well with the oil-free granola recipe — they were basically made for each other.
Reader questions
A few things you may be wondering
What yogurt starter should I use?
The easiest starter is 2 tablespoons of plain, store-bought yogurt with live active cultures — check the label. Once you've made your first batch, save a few tablespoons to use as starter for your next batch. You can keep this going indefinitely.
What if my Instant Pot doesn't have a Yogurt button?
Some older models or non-Ultra Instant Pots don't have this function. You can still make yogurt by placing your covered pot of inoculated milk in the oven with just the oven light on (that warmth is typically enough to maintain ~110°F for 8 hours). A slow cooker set to warm also works.
How do I make it thicker (Greek-style)?
After the fermentation is complete, strain the yogurt through a cheesecloth-lined strainer set over a bowl in the fridge for 1–4 hours. The longer you strain, the thicker it gets. The liquid that drains out is whey — save it to add to smoothies, bread, or use as a liquid fertilizer for plants.
Why is my yogurt runny?
The most common causes: milk wasn't cooled to 105–115°F before adding starter (too hot kills the cultures), not enough incubation time, or the Instant Pot was moved or disturbed during fermentation. Make sure your inner pot stays undisturbed for the full 8 hours.
What milk works best?
Whole milk produces the richest, creamiest yogurt. 2% works too with a slightly thinner result. Avoid ultra-pasteurized (UP) milk if possible — the heat treatment it undergoes makes it harder for cultures to set. Regular pasteurized milk is ideal.
Can I make this dairy-free?
Coconut milk (canned, full-fat) is the best dairy-free option and produces a rich, thick yogurt. Use a vegan yogurt with live cultures as your starter, and look for recipes specifically calibrated for plant-based milk since the process differs slightly.
Keep learning
Kitchen Journal
The story behind the everyday work
Food history, useful technique, and honest notes from the parts that did not go according to plan.
Visit the Kitchen JournalFrom Stephanie
“A recipe gets useful when it tells you what to notice—not only what to do.”Why I cook this way
What to make next
Keep cooking
Made by Hand
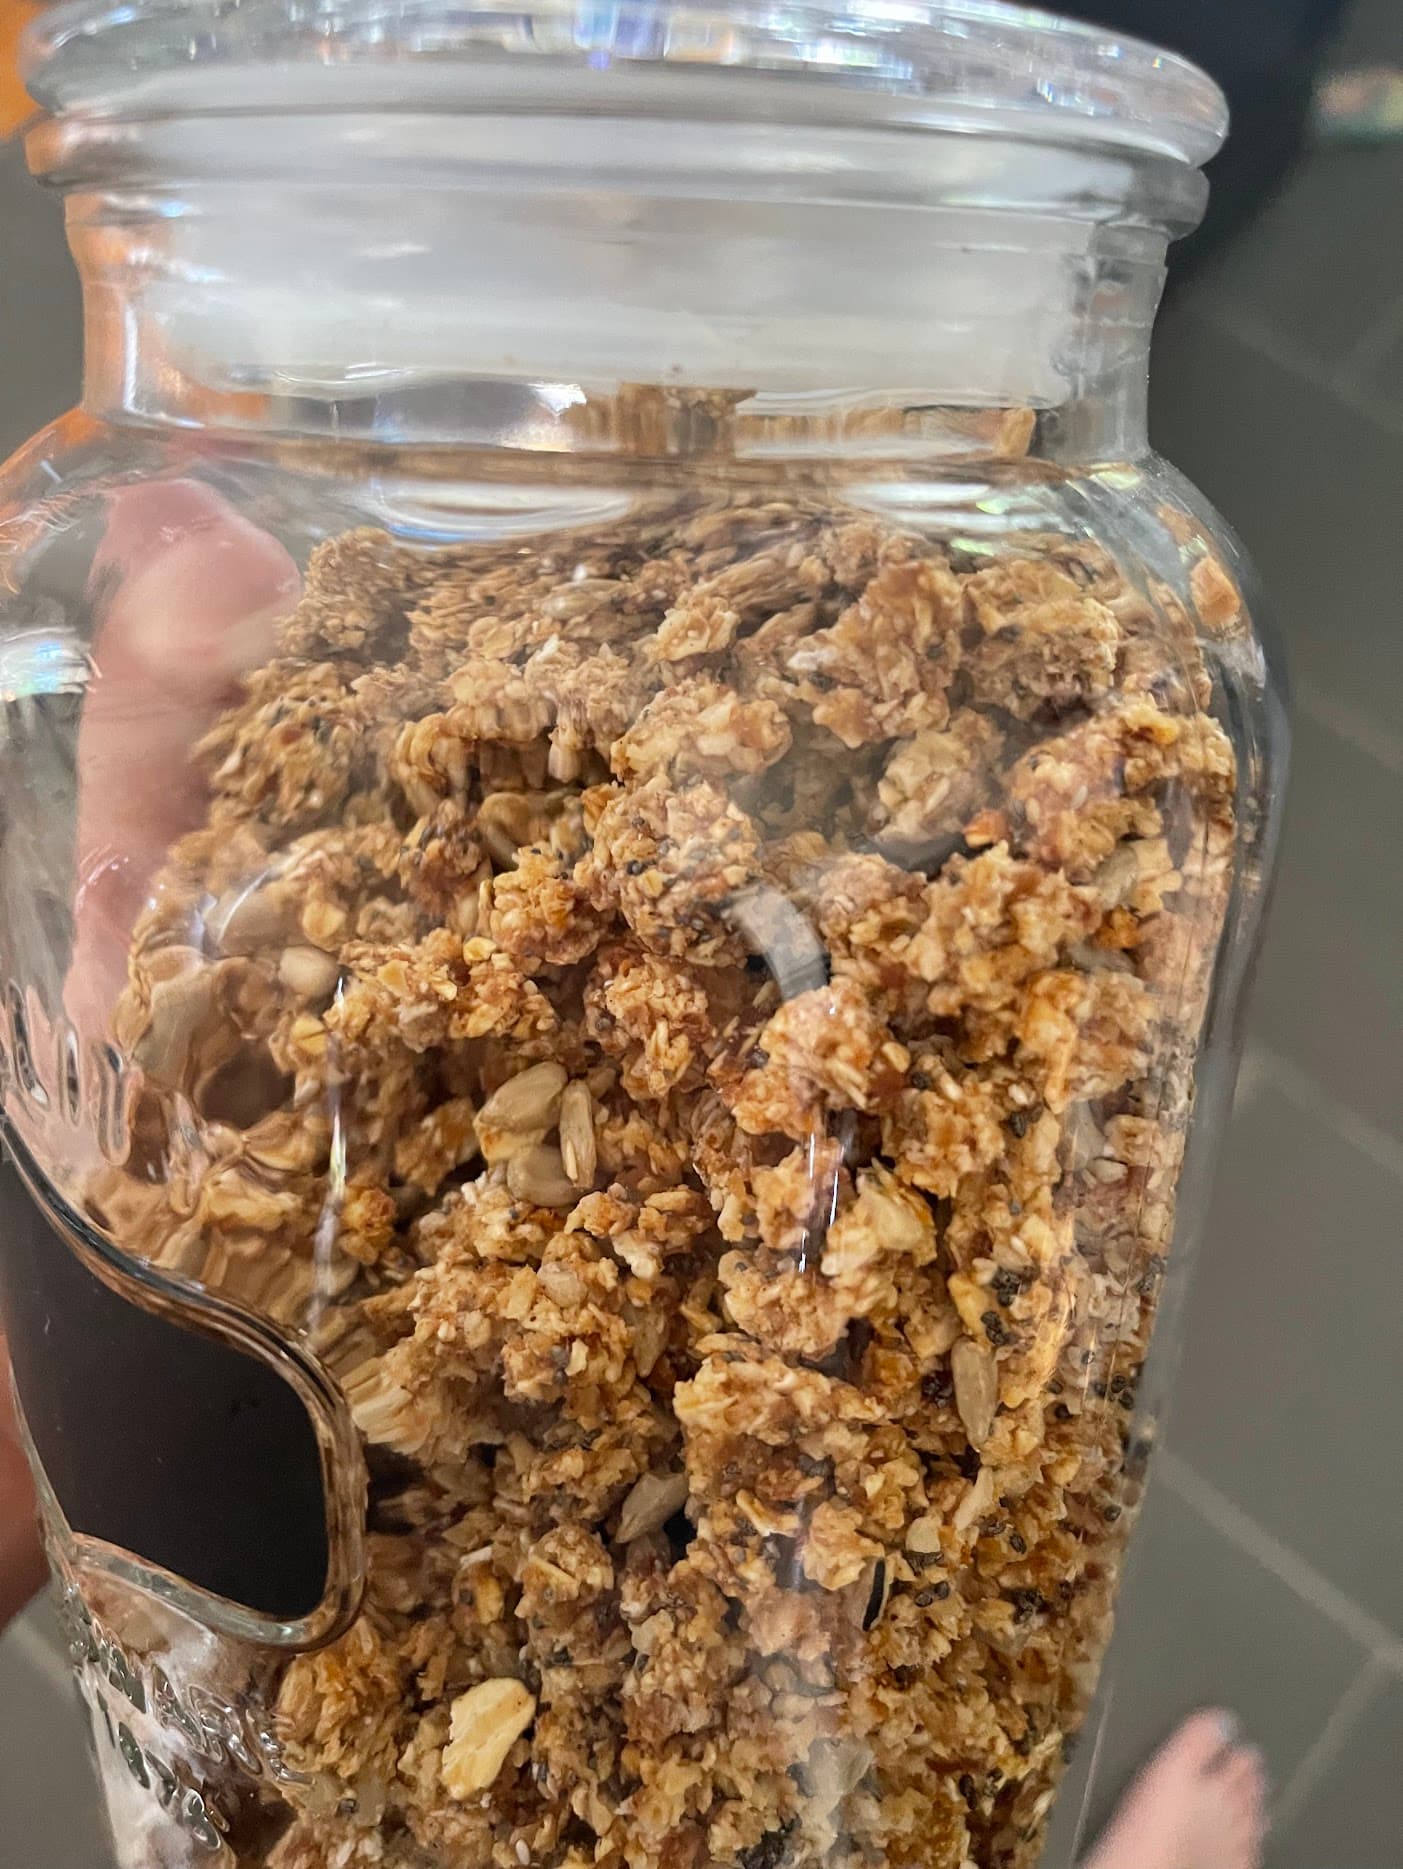
Homemade Oil-Free Granola
Crunchy, clustered granola made without oil but full of flavor. Naturally sweetened and perfect for breakfast bowls, yogurt parfaits, or snacking.
Make this next
Made by Hand
Fresh Milled Flour Pancakes (Fluffy Whole Wheat!)
Fluffy, wholesome pancakes made with fresh milled flour — a 50/50 blend of hard and soft white wheat that gives you the perfect tender crumb. Ready in 20 minutes, naturally whole grain, and better than any box mix.
Make this nextStay for the next experiment
A good recipe, a song, and something worth noticing.
Every other week, I’ll send one useful kitchen idea, one honest note from the process, and whatever is taking shape in the music room.
Around the table
Questions, notes, and kitchen discoveries
Tried this recipe, changed something, or ran into trouble? Share what happened so we can learn from one another.