Made by Hand · Breakfast
Homemade Oil-Free Granola
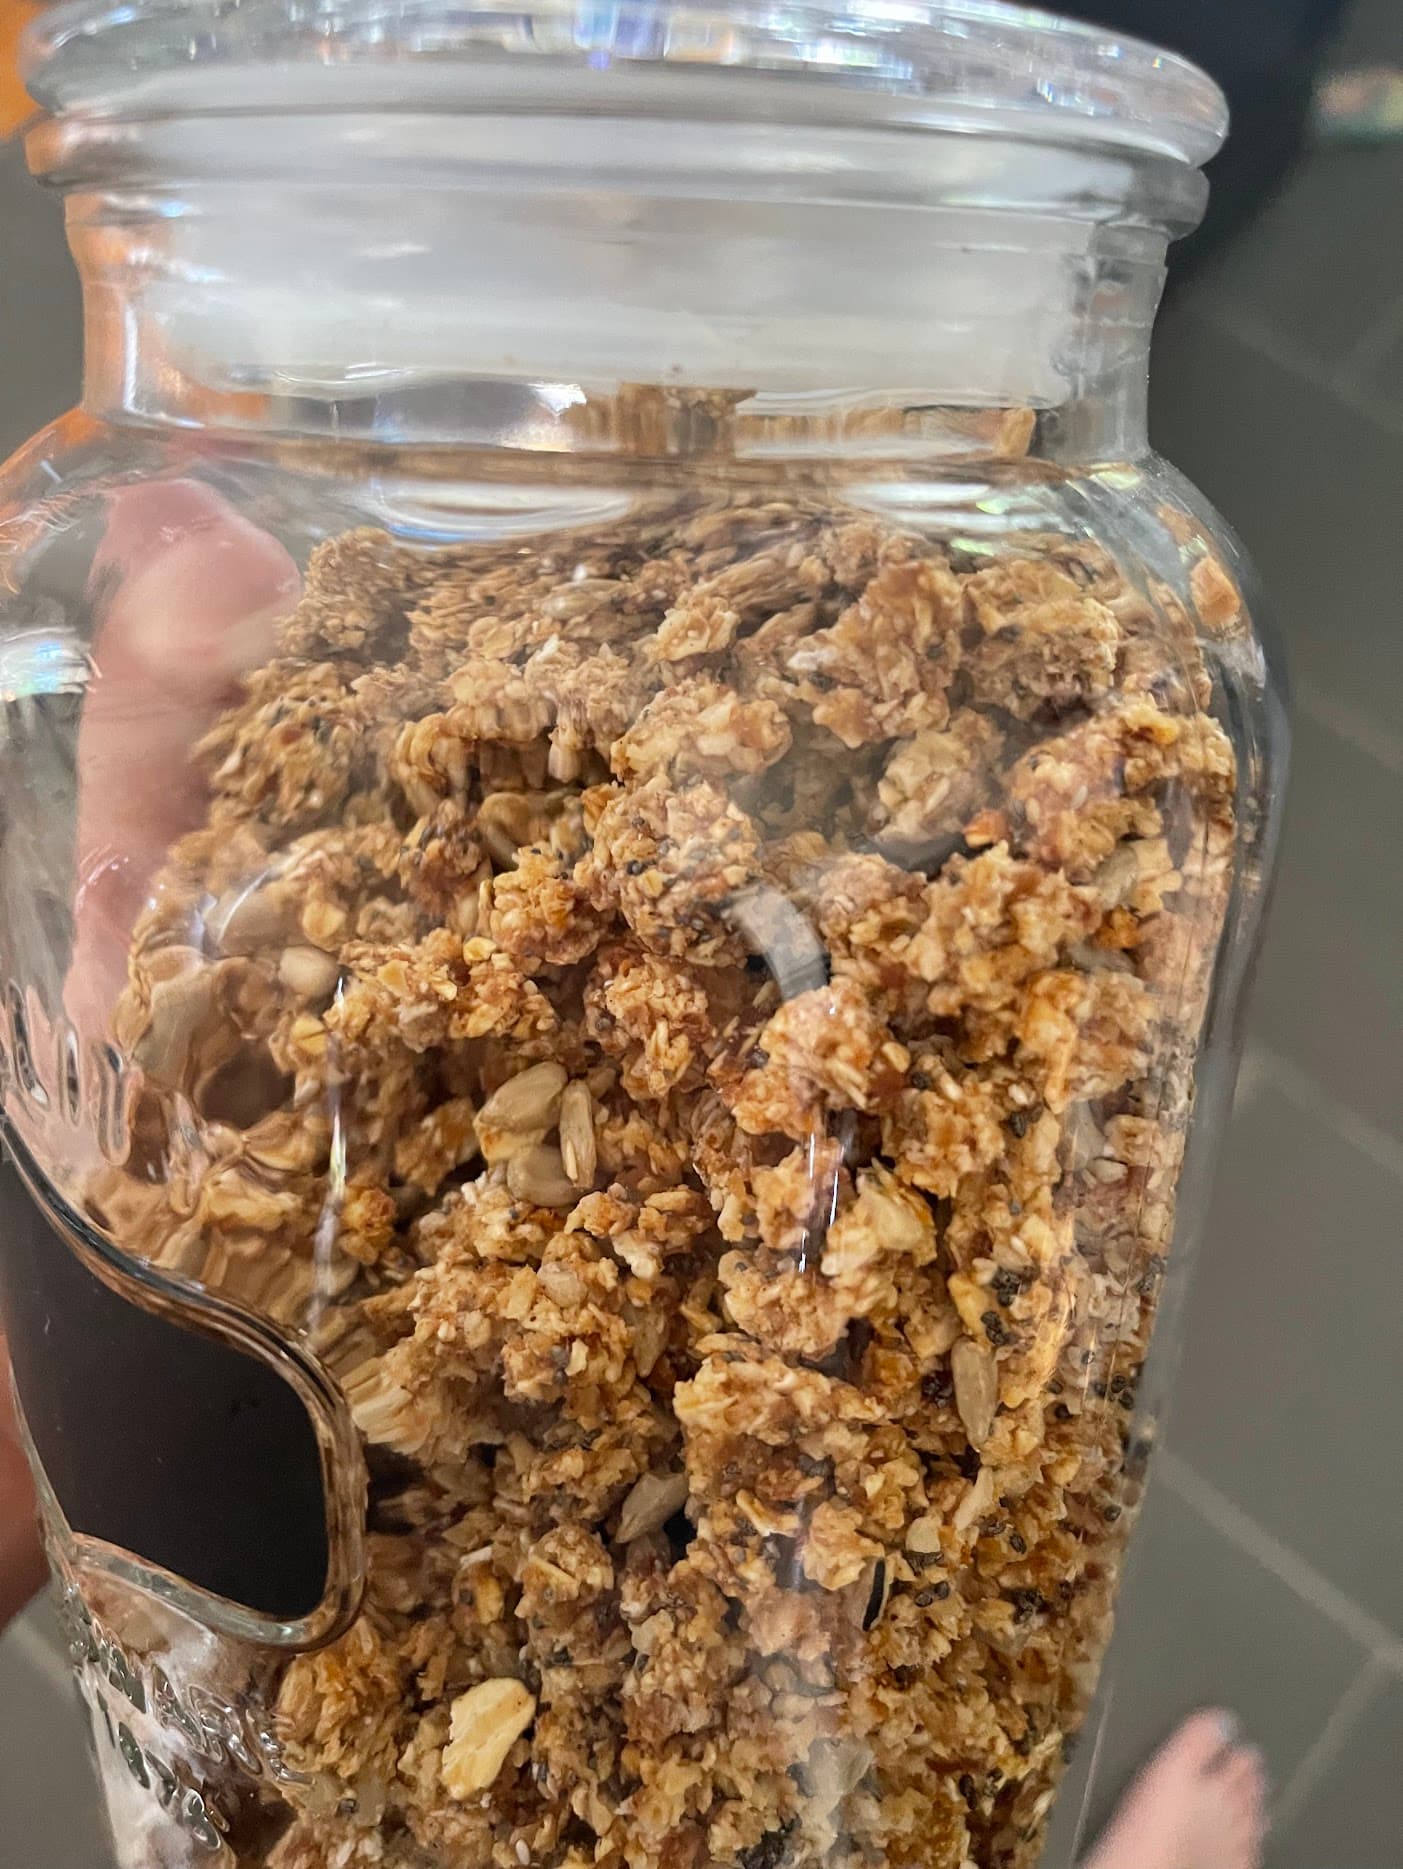
Crunchy, clustered granola made without oil but full of flavor. Naturally sweetened and perfect for breakfast bowls, yogurt parfaits, or snacking.

By Stephanie
Tested in my home kitchen · Updated Feb 2026
Prep
15 min
Cook
30 min
Makes
12
Difficulty
Easy
A note from my kitchen
Why this recipe stays in rotation
Granola was the first thing I stopped buying at the store. Not bread, not yogurt — granola. Because the day I looked at the ingredient list on our usual bag and saw palm oil, high-fructose corn syrup, and "natural flavors" listed before I even got to the oats, I thought: I can do better than this.
I didn't set out to make oil-free granola specifically. I just started making granola from scratch and realized pretty quickly that the oil wasn't doing much except adding calories and cost. Dates were the real binder — they're what hold the clusters together, add natural sweetness, and keep everything from going stale as fast.
Why it works
What makes this recipe worth keeping
Crunchy clusters without a drop of oil
the secret is the right sweetener-to-oat ratio and resisting the urge to stir while it bakes
Naturally sweetened and whole-food-based
no refined oils, no mystery ingredients, just real food
Endlessly customizable
different nuts, seeds, dried fruit, spices — it's a different granola every time
Meal prep dream
one big batch lasts 2+ weeks in a jar and covers breakfasts and snacks all week
The recipe
Homemade Oil-Free Granola
Crunchy, clustered granola made without oil but full of flavor. Naturally sweetened and perfect for breakfast bowls, yogurt parfaits, or snacking.
Ingredients
- 3 cups old-fashioned rolled oats
- 1 cup raw almonds, roughly chopped
- 1/2 cup raw pumpkin seeds
- 1/2 cup raw sunflower seeds
- 1/3 cup ground flaxseed
- 1 teaspoon cinnamon
- 1/2 teaspoon sea salt
- 1/2 cup pure maple syrup
- 1/4 cup almond butter (or tahini)
- 2 tablespoons vanilla extract
- After baking:
- 1/2 cup raisins or dried cranberries
- 1/4 cup coconut flakes (optional)
Method
- 1
Preheat oven to 300°F (150°C). Line a large baking sheet with parchment paper.
- 2
In a large bowl, combine oats, almonds, pumpkin seeds, sunflower seeds, ground flaxseed, cinnamon, and salt. Mix well.
- 3
In a small saucepan, warm maple syrup and almond butter over low heat, whisking until smooth and combined, about 2 minutes.
- 4
Remove from heat and stir in vanilla extract.
- 5
Pour wet mixture over dry ingredients. Stir thoroughly until everything is evenly coated. The mixture should be slightly sticky.
- 6
Spread mixture evenly on prepared baking sheet. Press down firmly with a spatula to encourage clustering.
- 7
Bake for 15 minutes. Remove, stir gently, and press down again. Bake another 10-15 minutes until golden brown.
- 8
Turn off oven and let granola cool in the oven with door cracked open for 30 minutes (this creates extra crunch).
- 9
Once completely cool, break into clusters and mix in dried fruit and coconut if using. Store in an airtight container.
Stephanie’s notes
The secret to oil-free granola that still clumps is the combination of maple syrup and nut butter, plus pressing it firmly while baking. Don
Notes from testing
The details that make the difference
Use a Nordic Ware half sheet pan (or similar heavy aluminum pan).
Thin, dark pans have hot spots that burn your granola on one side while the other side stays pale. A heavy aluminum pan distributes heat evenly and gives you consistently toasted clusters without any scorching.
Don't skip the parchment paper.
Granola sticks to bare sheet pans, especially when you're using dates as the binder instead of oil. Parchment makes cleanup effortless and lets the clusters lift off cleanly.
Press it down before baking. Use a spatula to firmly press the granola into a flat, even layer before it goes in the oven. This is how you get clusters
loose granola = no clusters. Don't stir until it's completely cool.
Watch the last 10 minutes closely. Granola goes from perfectly golden to burnt faster than you expect, especially with dates in the mix (the sugar in them burns quickly). Start checking at the 25-minute mark. Pull it when the edges are golden
it will crisp up significantly more as it cools.
Cool completely before storing. Warm granola in an airtight container will steam itself soft. Let it cool fully on the pan
at least 30 minutes — before transferring. Proper cooling is the difference between crunchy granola and disappointing cereal.
Use it well
Make it yours, store it well
Variations
Chocolate drizzle: Once the granola is completely cool, drizzle with 2 oz of melted dark chocolate (70%+). Spread on parchment and let set at room temperature for 30 minutes. The bitterness of good dark chocolate plays beautifully against the sweetness of the dates.
Tropical variation: Swap the nuts and seeds for macadamia nuts and pepitas, increase the shredded coconut to 1 cup, and add ¼ teaspoon of ground ginger and a handful of dried mango pieces (added after baking). Great on yogurt in summer.
Nut-free version (school-safe): Replace all nuts with sunflower seeds and pumpkin seeds. Use tahini in place of any nut butter the recipe calls for. The clusters hold together the same way and the flavor is just as satisfying — possibly better.
Storage and reheating
Store cooled granola in an airtight glass jar at room temperature for up to 3 weeks — longer if your kitchen is cool and dry. Glass keeps it crunchier than plastic bags (less moisture transfer). If it softens slightly over time, spread it on a sheet pan and bake at 300°F for 8–10 minutes to re-crisp. Do not refrigerate — the humidity will kill the crunch faster than anything else.
Serving ideas
The classic: a bowl of homemade yogurt with granola on top and a drizzle of honey. Also excellent with whole milk, coconut milk, or almond milk as a cereal. Use it as a topping for baked oatmeal, or crush it and press it into a no-bake tart crust. Sprinkle over roasted sweet potatoes with Greek yogurt and cinnamon for a surprisingly great side dish. Toss a handful into a smoothie bowl for texture. Or just eat it by the fistful out of the jar when you're standing in the kitchen at 3 p.m. — no judgment here, I do it constantly.
Reader questions
A few things you may be wondering
How do I get it to clump without oil?
Clumping comes from the binding agents — typically egg whites, nut butter, or enough liquid sweetener (like maple syrup or honey) to coat every oat. The key is pressing the granola firmly into an even layer on the sheet pan before baking and then NOT stirring it until it's fully cool. Stirring while warm breaks the clusters.
Is this recipe vegan?
It can be! If the recipe uses egg white as a binder, swap it for 2 tablespoons of nut butter (almond or cashew works well) plus a splash more maple syrup. This produces excellent clusters and is 100% plant-based.
What oats should I use?
Old-fashioned rolled oats (not quick oats) are essential for proper granola texture. Quick oats are too fine and turn to dust. Steel-cut oats don't work here — they won't cook through properly at this temperature.
How do I prevent it from burning?
Oven temperature is everything. Too high and the outer edges burn before the center is done. Bake at 325°F on the center rack and check at 20 minutes. Every oven is different — start checking early and pull it when it's golden, not dark brown. It crisps up more as it cools.
Can I add chocolate chips?
Yes, but add them AFTER baking, once the granola is fully cooled. Adding chocolate before baking melts it into a mess. Stir in chips (or cacao nibs for less sugar) once the granola has cooled completely.
How long does it keep?
Stored in an airtight glass jar at room temperature, it keeps for 2–3 weeks and stays crunchy. Avoid storing in plastic — it can cause it to soften faster. Keep away from heat and humidity.
Keep learning
Kitchen Journal
The story behind the everyday work
Food history, useful technique, and honest notes from the parts that did not go according to plan.
Visit the Kitchen JournalFrom Stephanie
“A recipe gets useful when it tells you what to notice—not only what to do.”Why I cook this way
What to make next
Keep cooking
Made by Hand
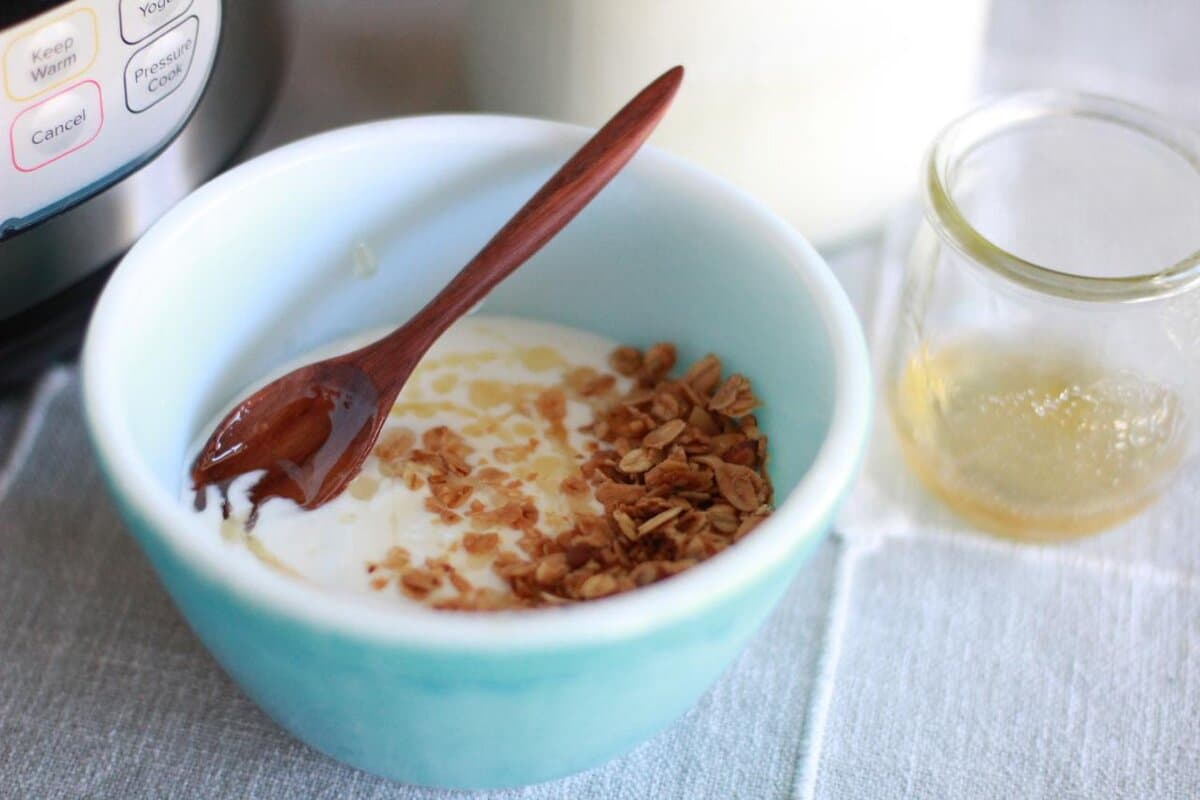
2-Ingredient Instant Pot Yogurt
Make thick, creamy homemade yogurt with just milk and yogurt starter. No special equipment needed.
Make this next
Made by Hand
Fresh Milled Flour Pancakes (Fluffy Whole Wheat!)
Fluffy, wholesome pancakes made with fresh milled flour — a 50/50 blend of hard and soft white wheat that gives you the perfect tender crumb. Ready in 20 minutes, naturally whole grain, and better than any box mix.
Make this nextStay for the next experiment
A good recipe, a song, and something worth noticing.
Every other week, I’ll send one useful kitchen idea, one honest note from the process, and whatever is taking shape in the music room.
Around the table
Questions, notes, and kitchen discoveries
Tried this recipe, changed something, or ran into trouble? Share what happened so we can learn from one another.