Made by Hand · Sides
Easy Fermented Jalapeños Recipe (Beginner's Guide to Lacto-Fermentation)
Tangy, probiotic-rich fermented jalapeños with just salt, water, and time. No special gear needed. This beginner guide makes it completely foolproof.

By Stephanie
Tested in my home kitchen · Updated Feb 2026

Prep
20 min
Cook
30 min
Makes
16
Difficulty
Easy
A note from my kitchen
Why this recipe stays in rotation
I came to fermented jalapeños through the back door. I'd been making my roasted tomatillo salsa for months and kept buying pickled jalapeños from the store to serve alongside it. One day I looked at the label: distilled white vinegar, calcium chloride, sodium bisulfite. I thought — there's a better version of this, and I can make it.
Lacto-fermentation is the old way. Before refrigerators, before commercial pickling, salt and time were how people preserved vegetables. The salt draws moisture out of the jalapeños, creates a brine, and the naturally occurring bacteria on the peppers' skins do the rest — converting sugars to lactic acid, which both preserves the peppers and gives them that bright, tangy flavor. No vinegar required. No canning required.
Why it works
What makes this recipe worth keeping
Zero special equipment
a mason jar and salt is all you need to get started
Naturally probiotic
lacto-fermentation creates live cultures that are good for your gut, no vinegar or shortcuts needed
Completely beginner-friendly
if you can slice a pepper and dissolve salt in water, you can do this
Lasts for months
make a big batch and enjoy them on tacos, eggs, grain bowls, and sandwiches for weeks
The recipe
Easy Fermented Jalapeños Recipe (Beginner's Guide to Lacto-Fermentation)
Tangy, probiotic-rich fermented jalapeños with just salt, water, and time. No special gear needed. This beginner guide makes it completely foolproof.
Ingredients
- 1 pound fresh jalapeño peppers
- 4 cloves garlic, peeled
- 2 tablespoons sea salt (non-iodized)
- 2 cups filtered water
- Optional additions:
- 1 teaspoon black peppercorns
- 1 teaspoon coriander seeds
- 2 bay leaves
- 1/4 cup sliced onion
Method
- 1
Wash jalapeños and trim stems. Slice into 1/4-inch rounds (wear gloves!). For less heat, remove seeds and membranes.
- 2
In a clean quart jar, layer jalapeño slices with garlic cloves and any optional spices.
- 3
In a separate container, dissolve salt in filtered water to create a brine. Stir until completely dissolved.
- 4
Pour brine over jalapeños, leaving 1-2 inches of headspace. Use a fermentation weight or small jar to keep peppers submerged.
- 5
Cover jar with a coffee filter or cheesecloth secured with a rubber band. This allows gases to escape while keeping dust out.
- 6
Place jar in a cool, dark spot (68-75°F) and let ferment for 5-7 days. Taste daily after day 3 until desired tanginess is reached.
- 7
Once fermented to your liking, remove weight, cap tightly, and refrigerate. Peppers will continue to slowly ferment and develop flavor.
Stephanie’s notes
The fermentation time varies based on temperature and personal preference. Warmer environments ferment faster. The peppers are ready when they
Notes from testing
The details that make the difference
Use a 2% salt brine by weight for consistent results. Dissolve 20 grams of non-iodized salt (kosher or sea salt
not table salt, which has additives that interfere with fermentation) per 1 liter of water. Iodine kills the beneficial bacteria you're trying to cultivate, so this is the one place where salt type really matters.
Keep jalapeños submerged below the brine.
Any pepper above the brine is exposed to air and can mold. Use a small zip-lock bag filled with brine, a fermentation weight, or a folded cabbage leaf pressed on top to keep everything underwater. Check daily.
Ferment at room temperature, away from direct sunlight. A spot on your counter between 65–75°F is ideal. Too cold and fermentation slows significantly; too warm and it can move too fast and get mushy. Cover with a loose lid or cloth
don't seal it airtight, CO2 needs somewhere to go.
Taste daily starting on day 3. Fermentation speed depends on temperature and the natural bacteria on your peppers. Start tasting at day 3. When they hit the tanginess you like (I prefer day 5), move the jar to the fridge
the cold slows fermentation dramatically and locks in that flavor.
Bubbles are a good sign, slime is not.
Small CO2 bubbles in the brine mean active, healthy fermentation. If you see fuzzy mold (not just the white kahm yeast that can form on the surface and is harmless), smell anything genuinely off (not just sour), or the texture goes slimy, toss it and start over. Trust your nose.
Use it well
Make it yours, store it well
Variations
Add garlic and cumin: Toss 2–3 smashed garlic cloves and ½ teaspoon whole cumin seeds into the jar with the jalapeños before fermenting. The garlic mellows beautifully over 5 days and the cumin adds a warm earthiness that makes these taste restaurant-worthy.
Mixed pepper ferment: Use a combination of jalapeños, serranos, and a few rings of poblano for a more complex flavor. The poblano adds a milder, slightly smoky note that balances the sharper jalapeño heat. Great if you want something more nuanced than straight jalapeño heat.
Fermented jalapeño hot sauce: After fermenting, blend the drained jalapeños with a little of the brine, 2 garlic cloves, and a splash of lime juice. Strain through a fine-mesh sieve for a smooth sauce or leave it chunky. Keeps in the fridge for months.
Storage and reheating
Once fermented to your liking, seal the jar and refrigerate. The cold nearly stops the fermentation process, locking in the flavor. Fermented jalapeños keep in the refrigerator for 3–6 months, though the flavor deepens over time. The brine itself is also worth saving — it's tangy, spicy, and slightly effervescent. Use it in salad dressings, cocktails, or as a substitute for apple cider vinegar in any recipe. They don't need to be canned or heat-processed — refrigerator storage is all they need.
Serving ideas
The obvious use: tacos, nachos, and anything that needs heat and tang. But the real move is using them where you'd use regular jalapeño slices but want more complexity — on grain bowls, fried eggs, avocado toast, or grilled cheese (specifically the roasted pepper kraut grilled cheese ). Chop finely and stir into cream cheese or sour cream for a quick dip. Add a few rings to a cheese board alongside sharp cheddar. Use the brine as a spicy kick in your salad dressing or mixed into a Bloody Mary. They're excellent alongside the roasted tomatillo salsa — the fermented tang and the roasted smokiness play off each other beautifully.
Reader questions
A few things you may be wondering
What's the difference between fermented jalapeños and pickled jalapeños?
Great question — they look similar but they're fundamentally different. Pickled jalapeños use vinegar to create acidity quickly. Fermented jalapeños use salt water and naturally occurring bacteria (lactobacillus) to ferment over days, creating lactic acid. The result is tangier, more complex, and probiotic-rich. Pickled jalapeños have no live cultures.
Do I need any special equipment?
No! A clean glass mason jar, filtered water, non-iodized salt (kosher or sea salt — iodized salt can inhibit fermentation), and jalapeños are all you need. A small zip-lock bag filled with brine works great as a weight to keep everything submerged.
How do I know if something went wrong?
A healthy ferment smells tangy and savory — a bit like sauerkraut or dill pickles. You may see bubbling activity as CO₂ is released. Discard if you see fuzzy mold (white film or "kahm yeast" on top is normal and harmless — just skim it off). Trust your nose: if it smells rotten rather than sour, toss it and start fresh.
How long should I ferment them?
Most people love them at 5–7 days — tangy, still a little crunchy, with good probiotic development. If you want a softer, more intensely sour pepper, let them go 10–14 days. Taste-test daily after day 4 until they hit your sweet spot, then move them to the fridge to slow fermentation.
Will they lose their heat when fermented?
A little, yes. The fermentation process mellows the capsaicin slightly while adding complexity. If you want them very hot, leave the seeds in; for less heat, remove them before fermenting.
Can I use other peppers with the same method?
Absolutely! This exact brine ratio works for serranos, banana peppers, shishito peppers, bell peppers, or a mix. The process is the same — just adjust ferment time by taste.
Keep learning
Kitchen Journal
The story behind the everyday work
Food history, useful technique, and honest notes from the parts that did not go according to plan.
Visit the Kitchen JournalFrom Stephanie
“A recipe gets useful when it tells you what to notice—not only what to do.”Why I cook this way
What to make next
Keep cooking
Made by Hand
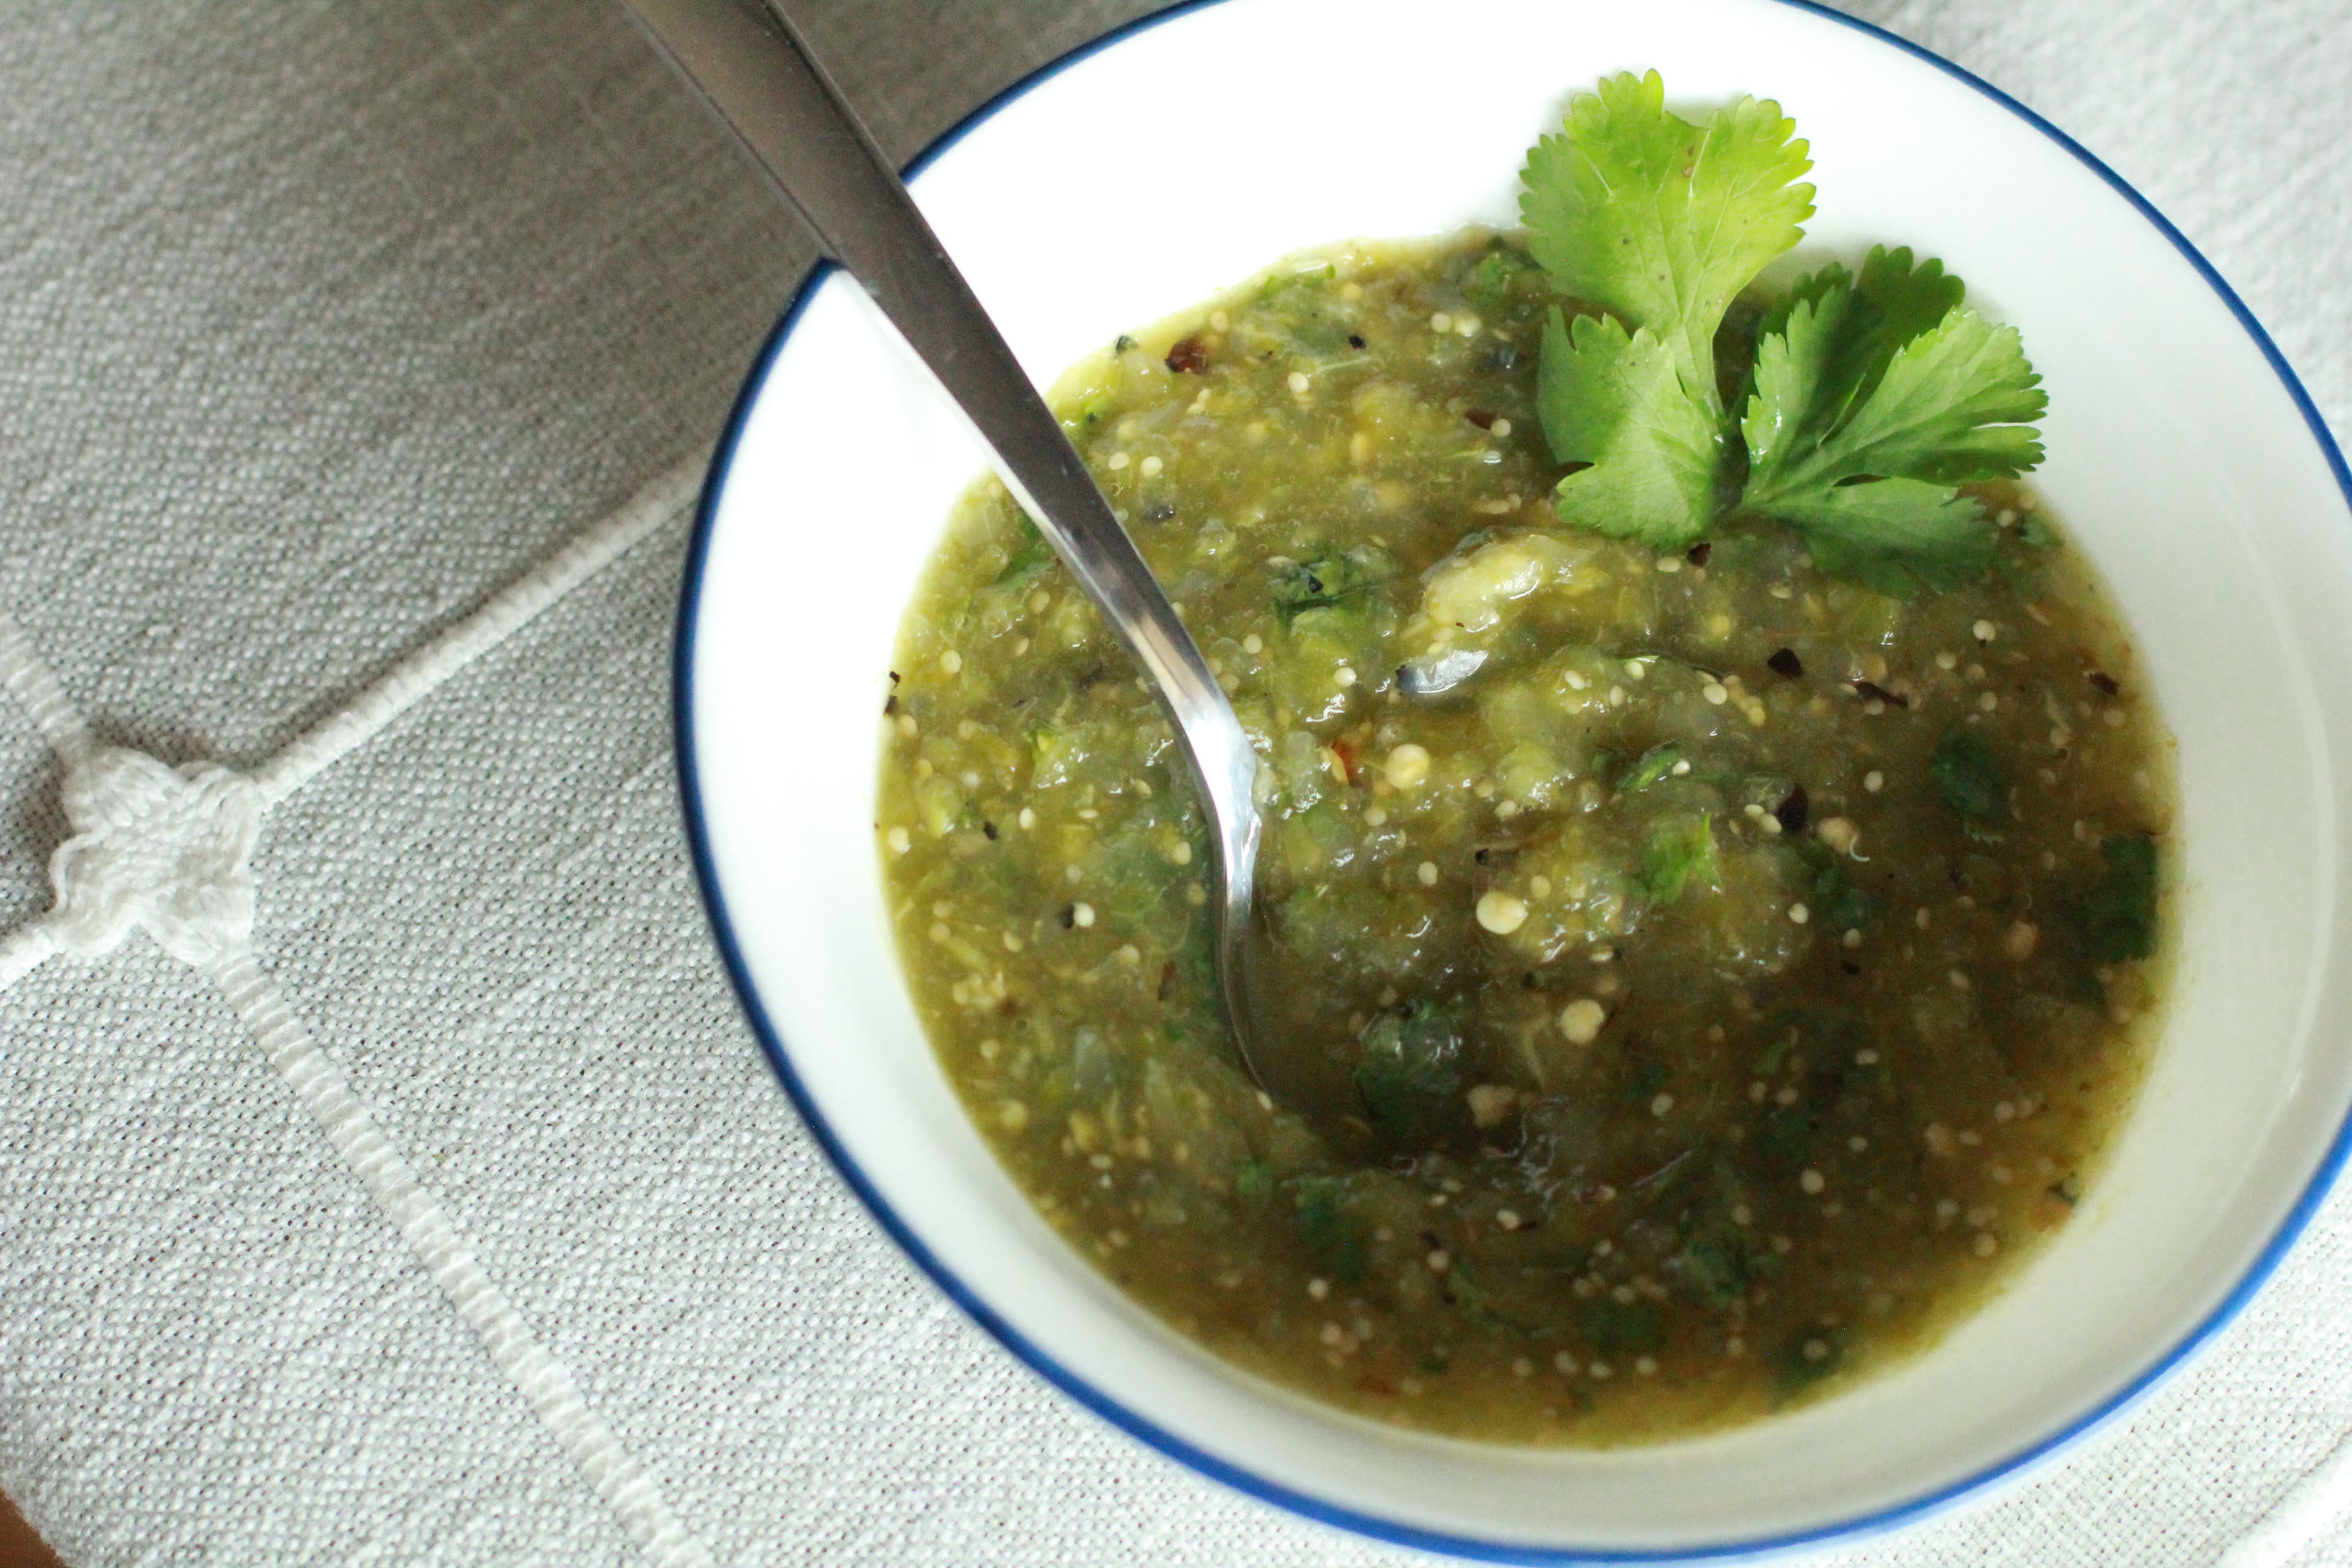
Easy Roasted Tomatillo Salsa (Chunky Salsa Verde)
This roasted tomatillo salsa is bright, tangy, and smoky with just enough heat—and way easier than you'd think. Everything roasts on one pan, then you pulse it together. 25 minutes from start to finish, and it works on tacos, eggs, burrito bowls, or straight-up chips.
Make this next
Made by Hand
Sauerkraut Grilled Cheese with Roasted Peppers (Crispy & Melty!)
Gooey cheese, tangy sauerkraut, and smoky roasted peppers in one crispy grilled cheese. Ready in 15 minutes — this is your new favorite lunch.
Make this nextStay for the next experiment
A good recipe, a song, and something worth noticing.
Every other week, I’ll send one useful kitchen idea, one honest note from the process, and whatever is taking shape in the music room.
Around the table
Questions, notes, and kitchen discoveries
Tried this recipe, changed something, or ran into trouble? Share what happened so we can learn from one another.